
Rainbow Water Bottle Bag
This pride month, we’ve dreamed up a festive and practical project for the summer!
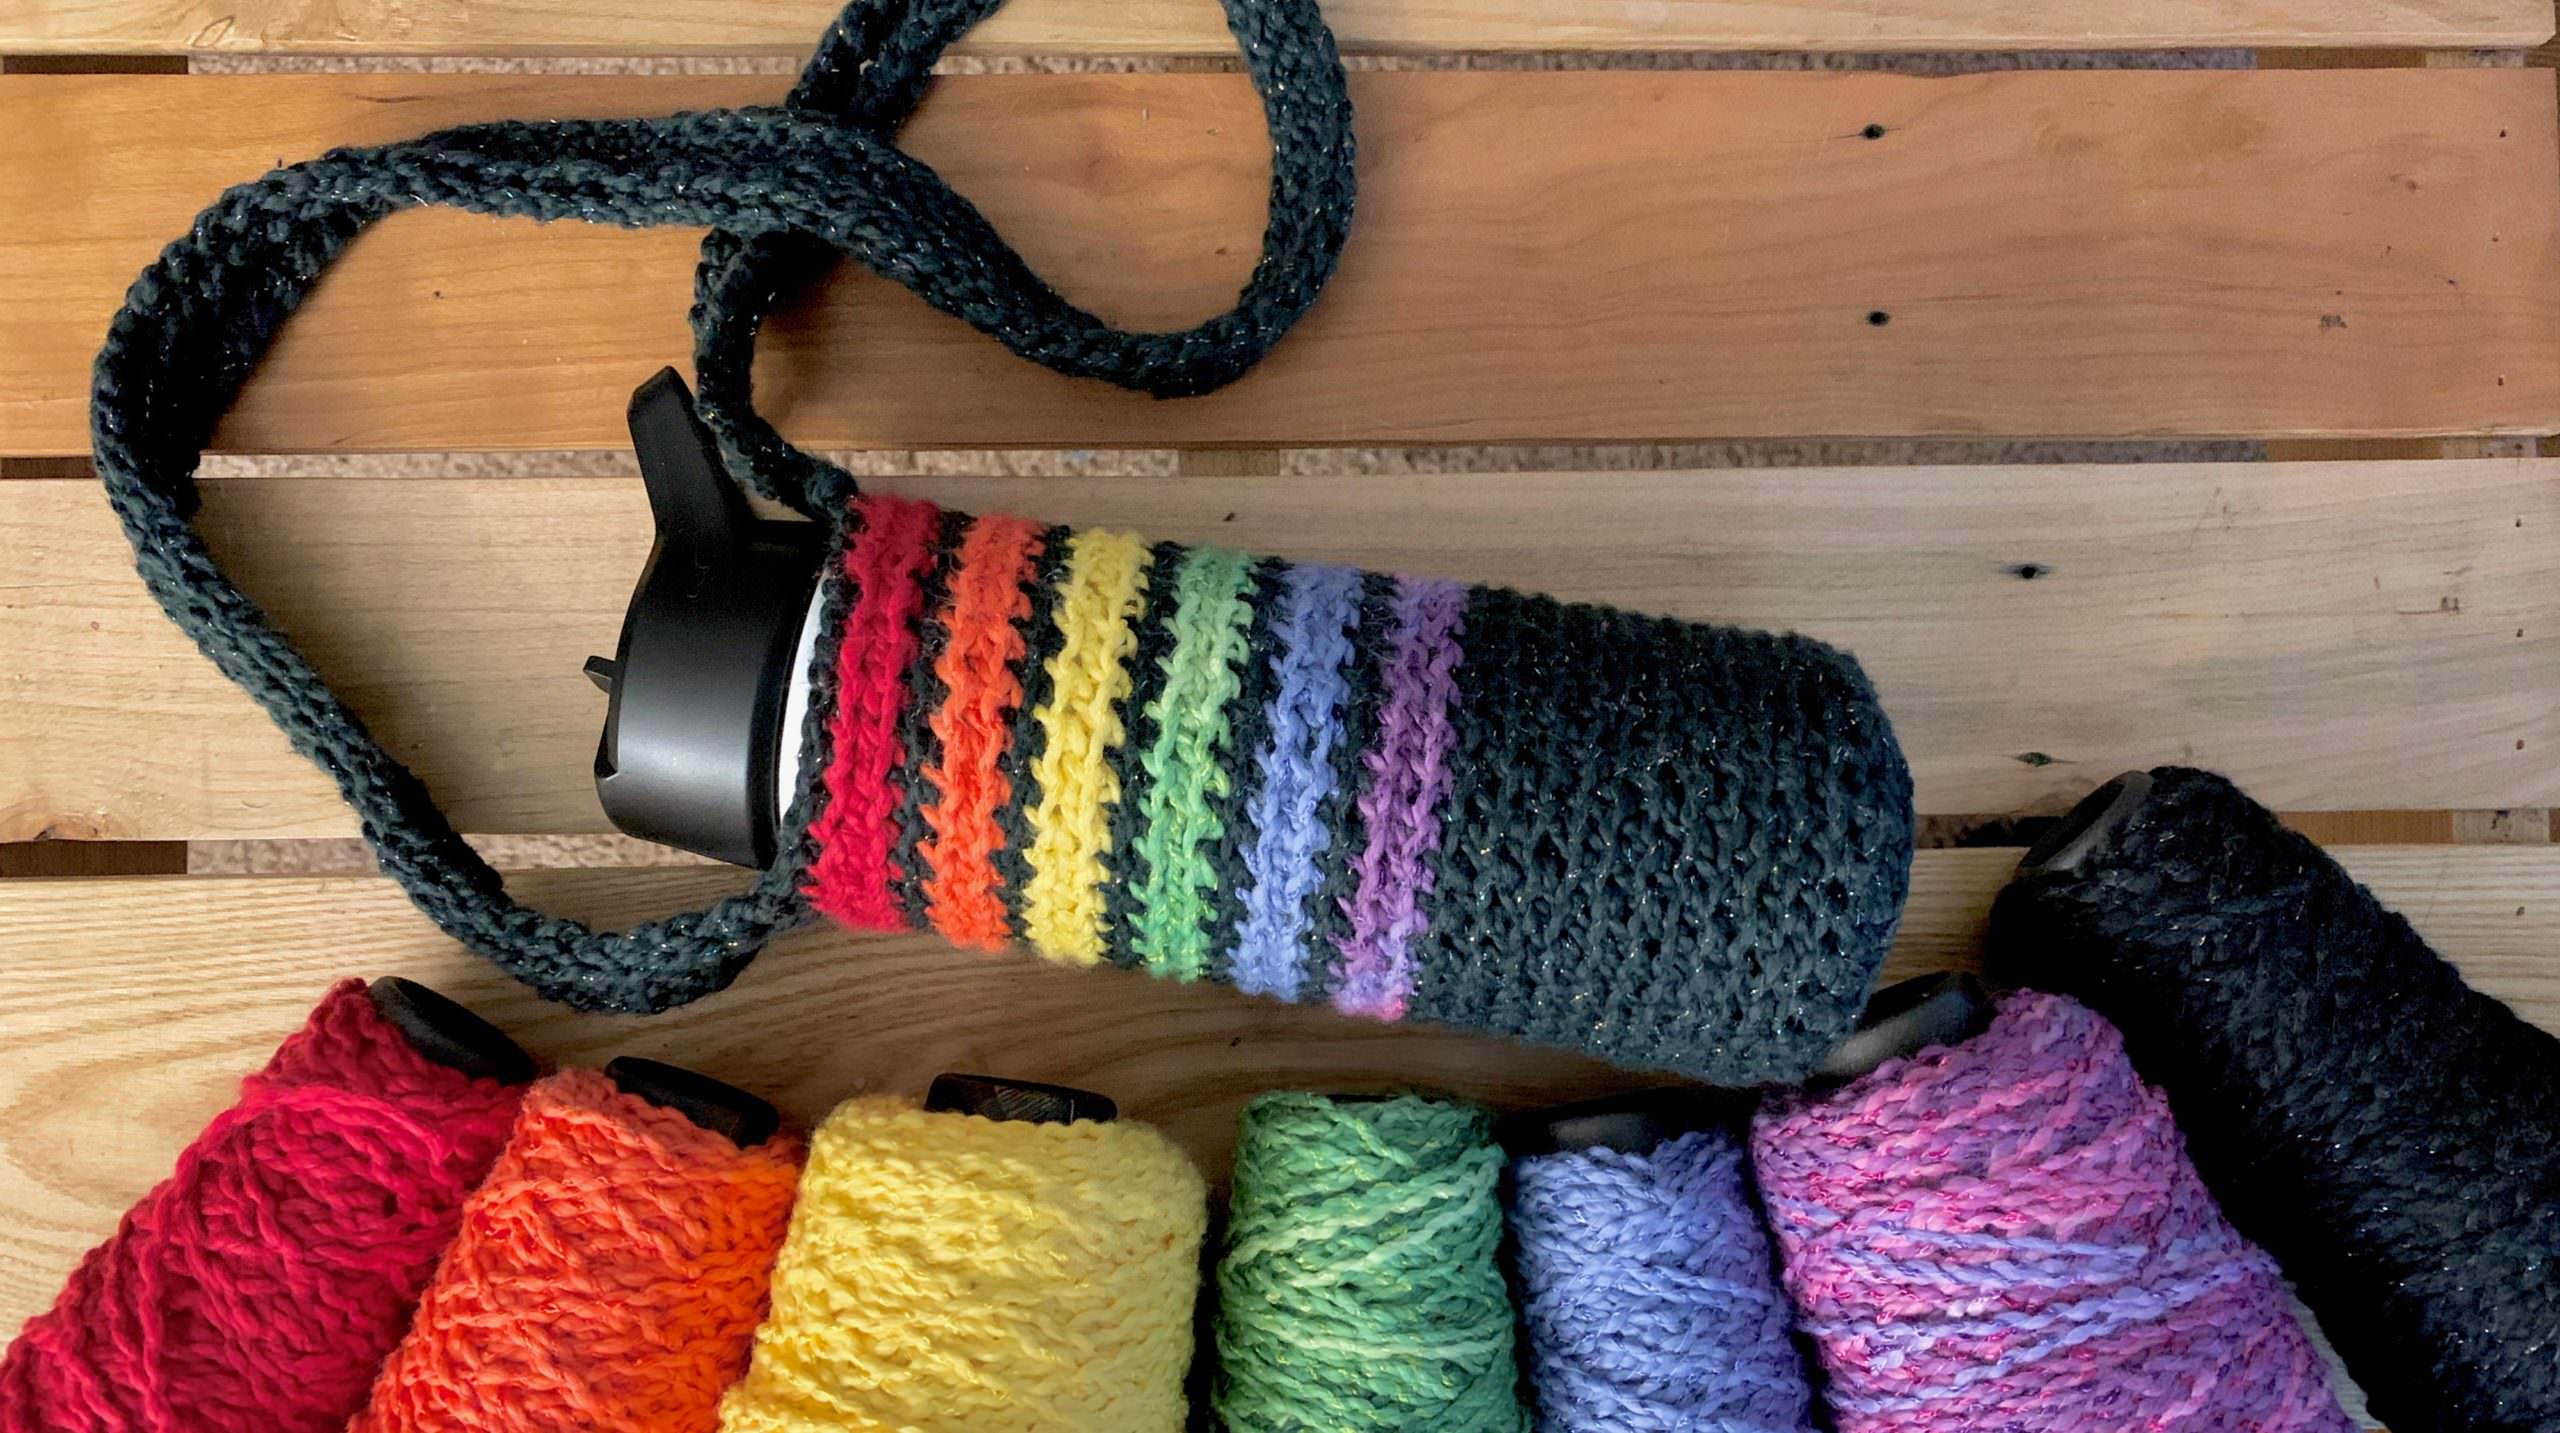
This rainbow water bottle bag is perfect for those who carry a water bottle everywhere. It can be worn over the shoulder or as a crossbody bag, and it can be made to fit any water bottle size. Here’s how it’s made!
Materials Used
- Super Soft Cotton Metallic in Black Rainbow
- Florafil Shimmer Yarn in Indian Paintbrush, Begonia, Yellow Cinquefoil, and Lavender
- Florafil Super Soft Cotton Yarn in Green Chrysanthemum and Aster
- 7.0 mm crochet hook
Starting it Off
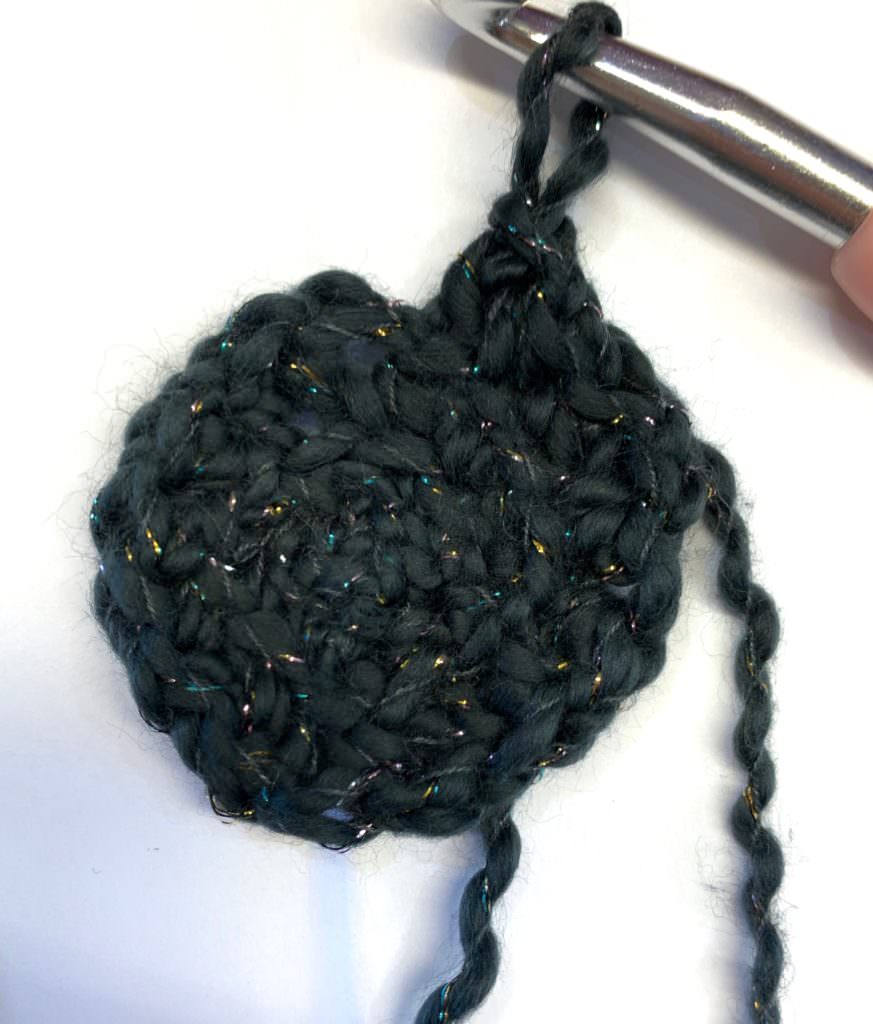
To begin, a small, flat crochet circle is created to provide the base for the bag. This is done by creating a loop of chain stitches and then crocheting around them in a spiral. While doing so, the number of stitches are increased so that the circle lays flat.
This continues until the circle is bigger than the bottom of the water bottle, as you can see here:
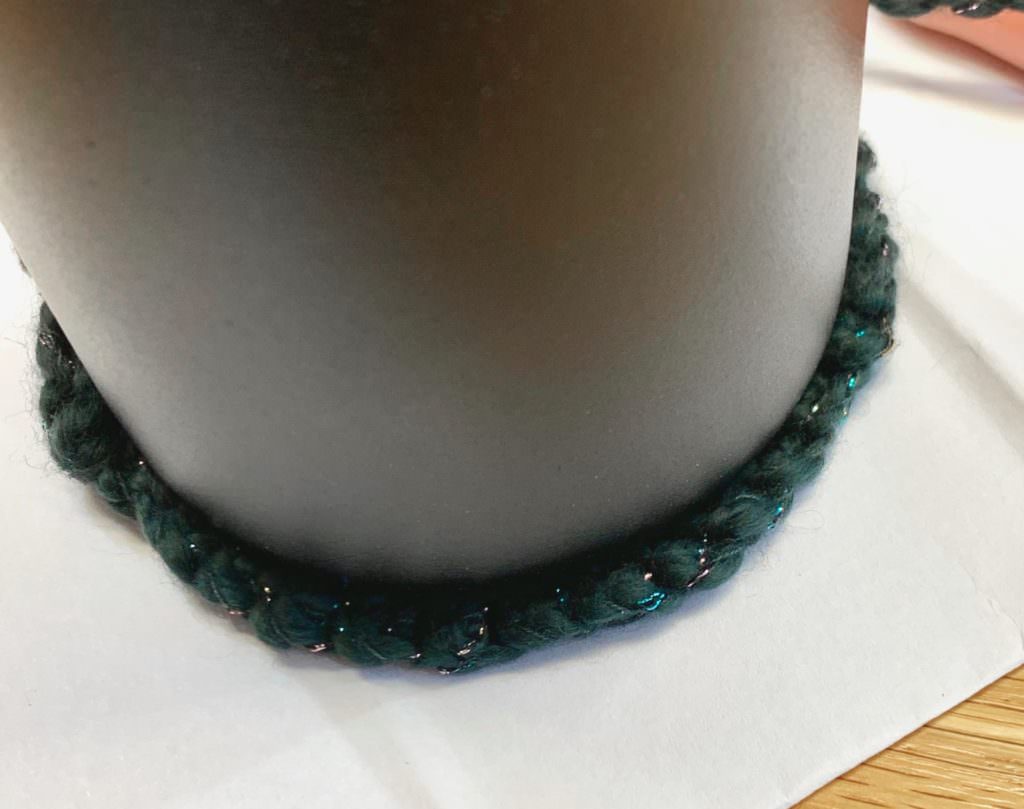
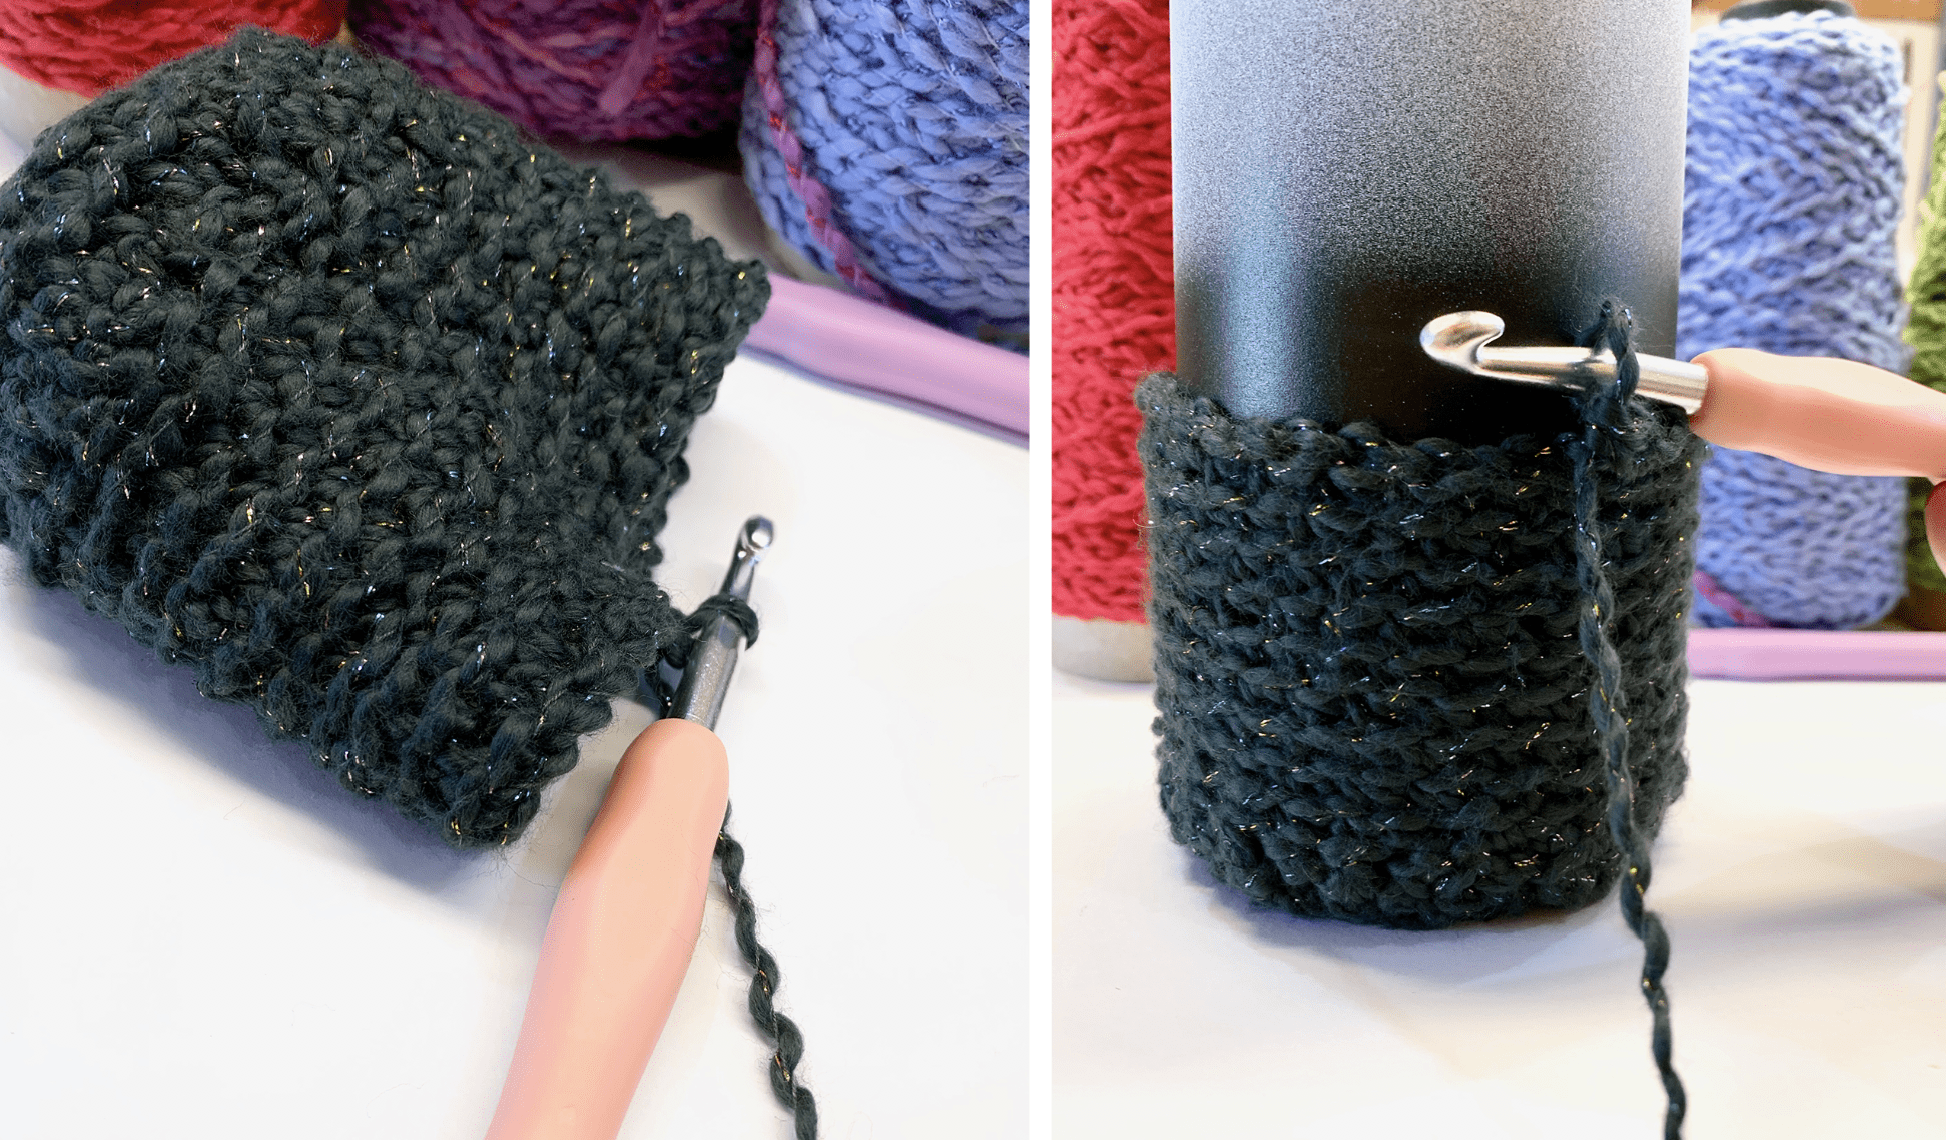
From this point on, the same number of stitches is used for the rest of this piece, creating a cylinder-like shape. The black yarn, with single crochet stitches, is used until the bag is a little more than 1/3 of the water bottle’s height. Feel free to set your bottle in periodically to make sure everything looks alright!
Below, you can see the progress with and without the water bottle:
Bringing in the Rainbow
Now we’re getting to the fun part!
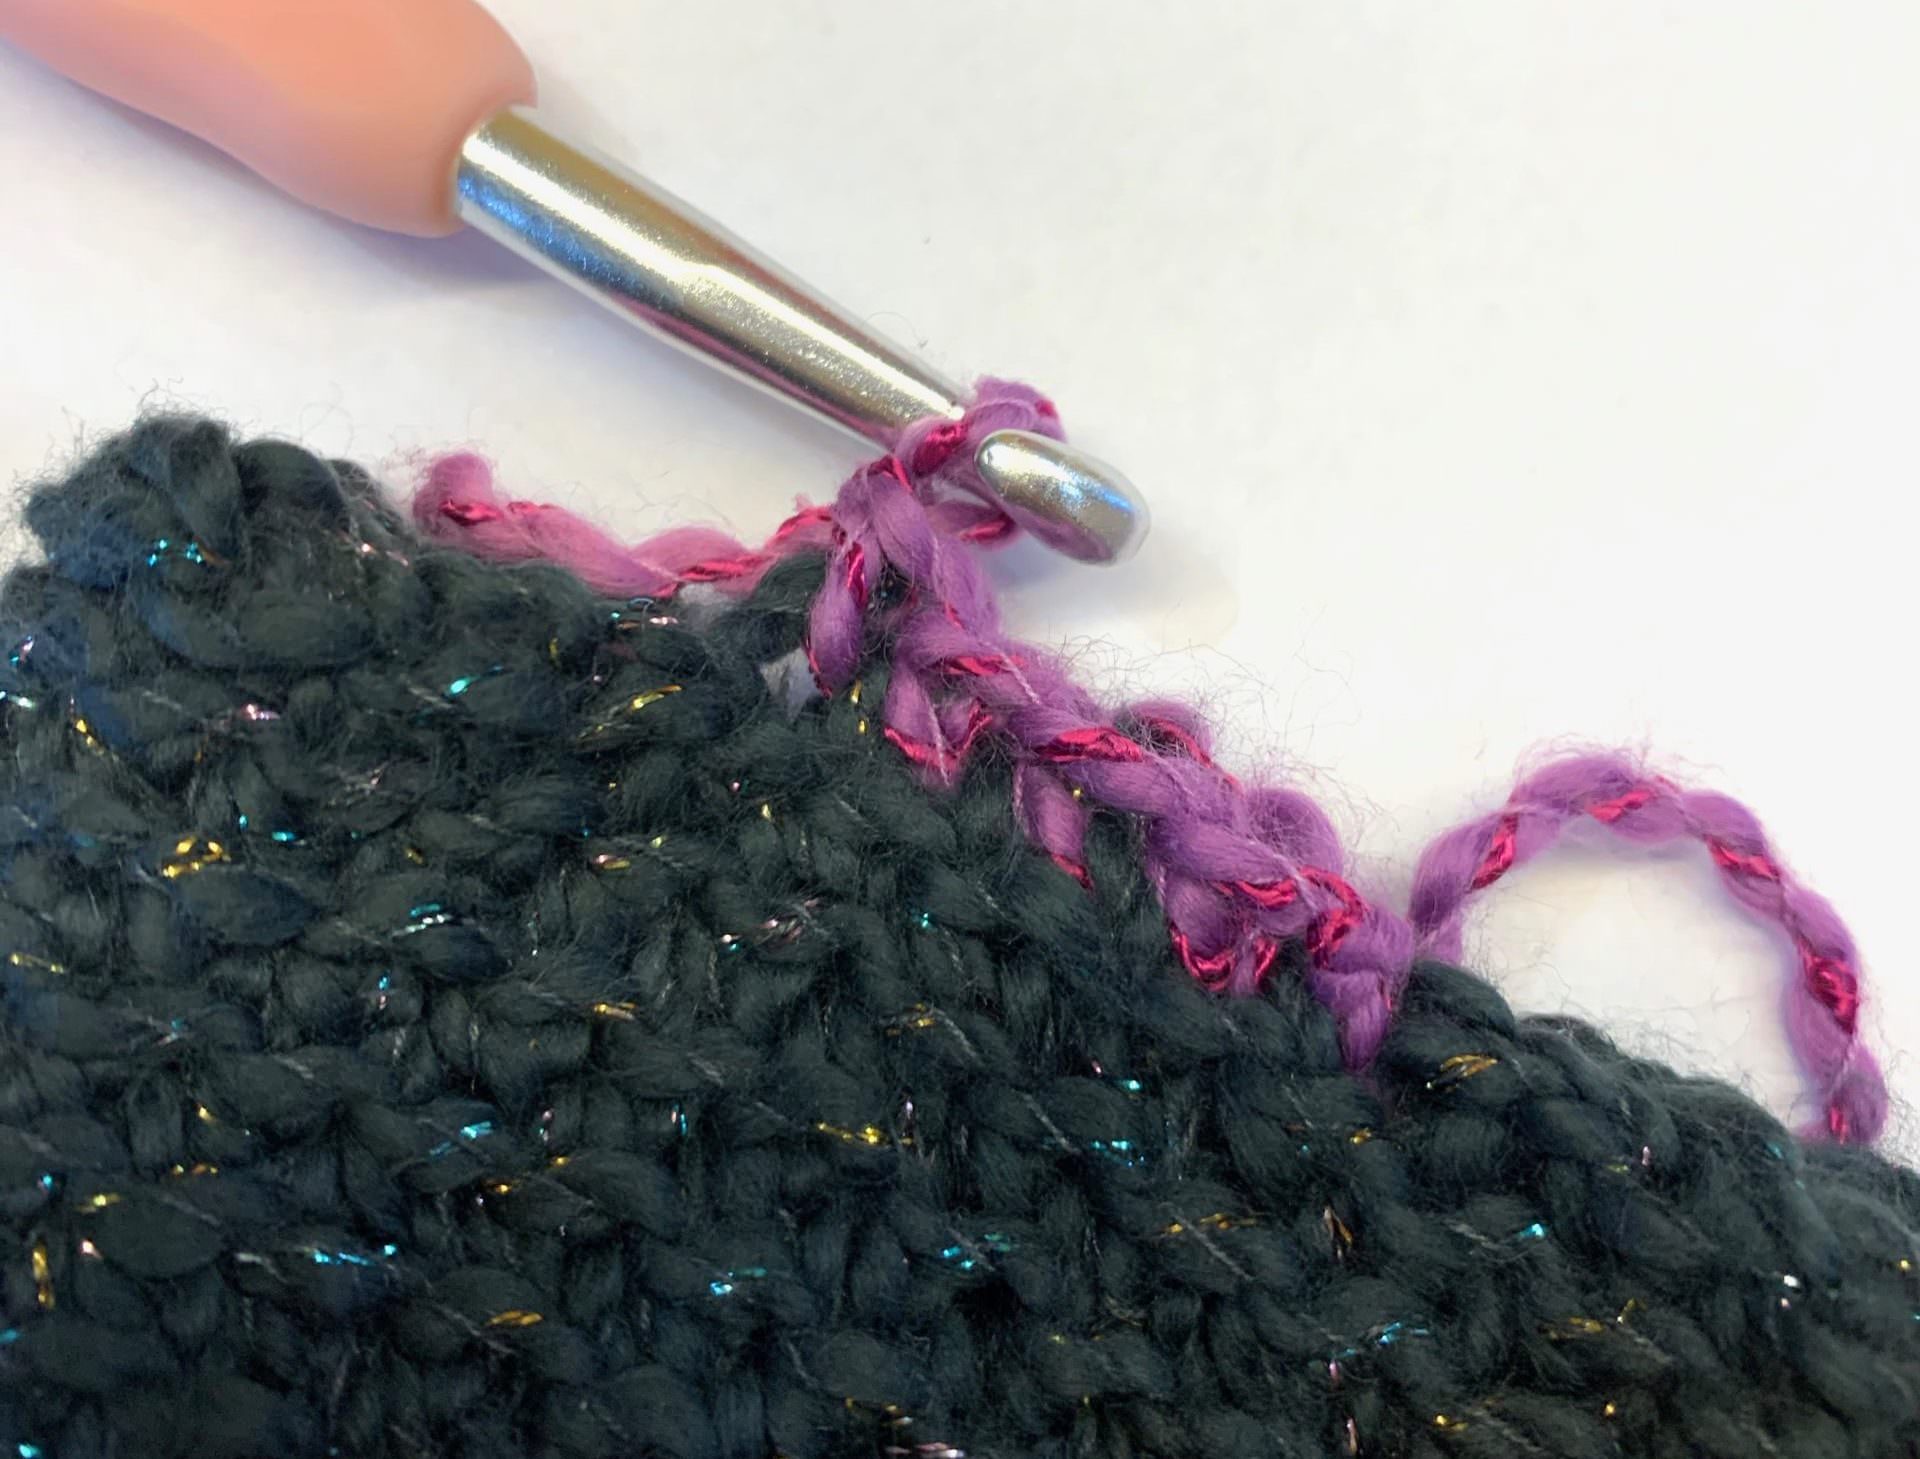
After finishing the black section, a purple yarn is brought in and crocheted for two rows. We’re working from bottom to top, so we’re starting with the last color and working backward so the rainbow isn’t upside down. One row of black follows this purple stripe.
This pattern (two rows of color, one row of black) is repeated with each of the colors until the end of the rainbow.
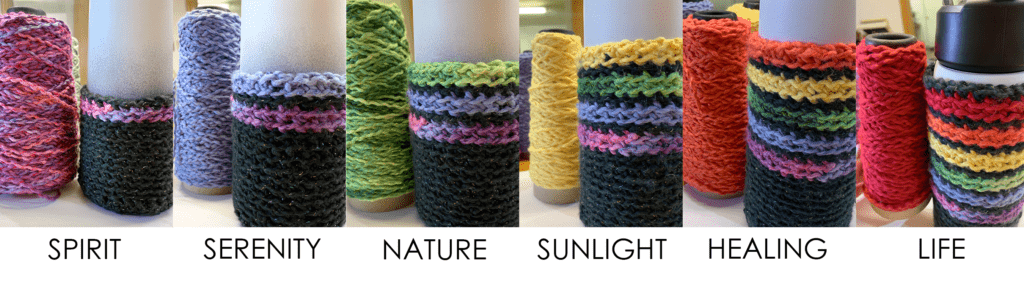
Here, you can see each of the stripes as they’re made and a little bit about what each color means on the flag!
Making the Bag’s Strap
To best estimate how long the strap should be, a good idea is to measure the strap of a bag you already own. If that is not an option, you can grab a piece of yarn, drape it over your shoulder, cut it at the length you want, and use this as a guide when doing this next step.
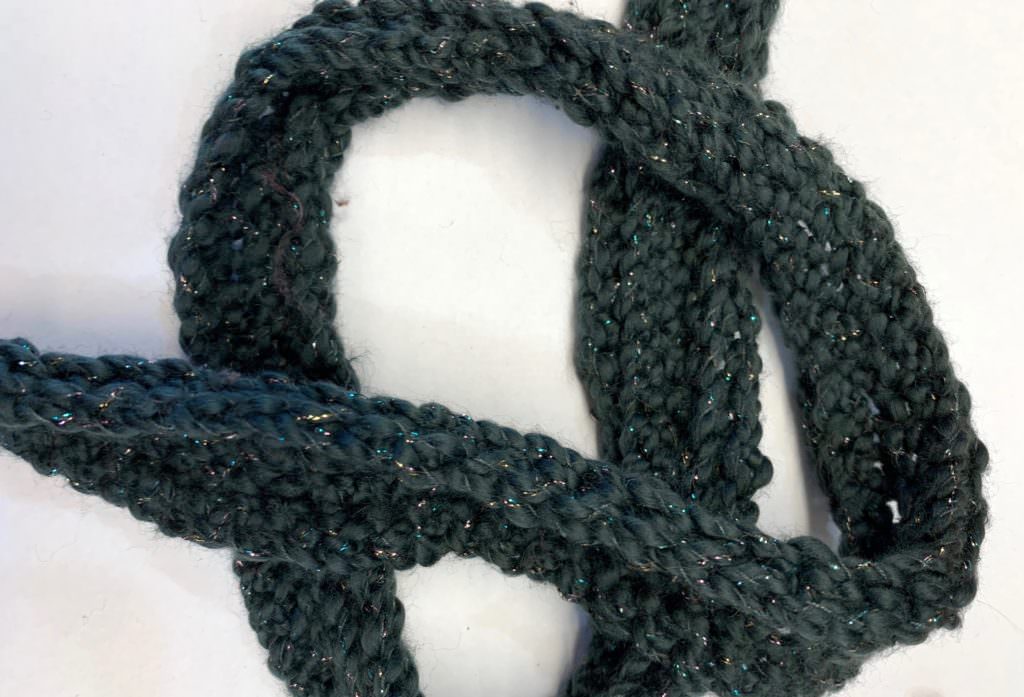
Using the black yarn, a long chain stitch is created to be the same length as the desired bag’s strap. From here, a simple single crochet stitch is used to make 5 rows.
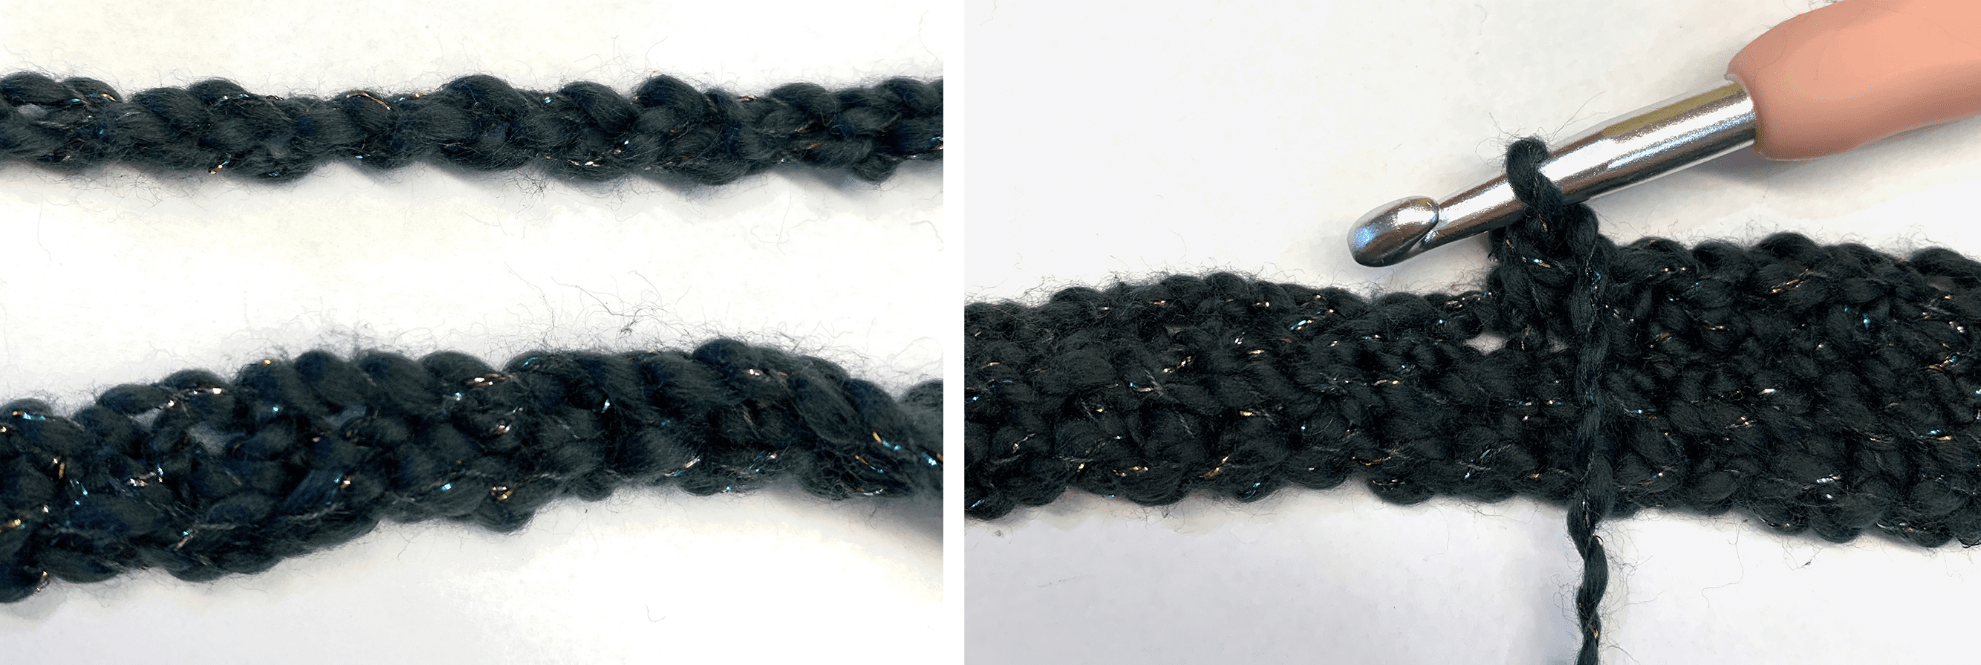
This can vary depending on the size/weight of your bottle. For example, a larger water bottle may need more support, so a wider strap might be a good idea.
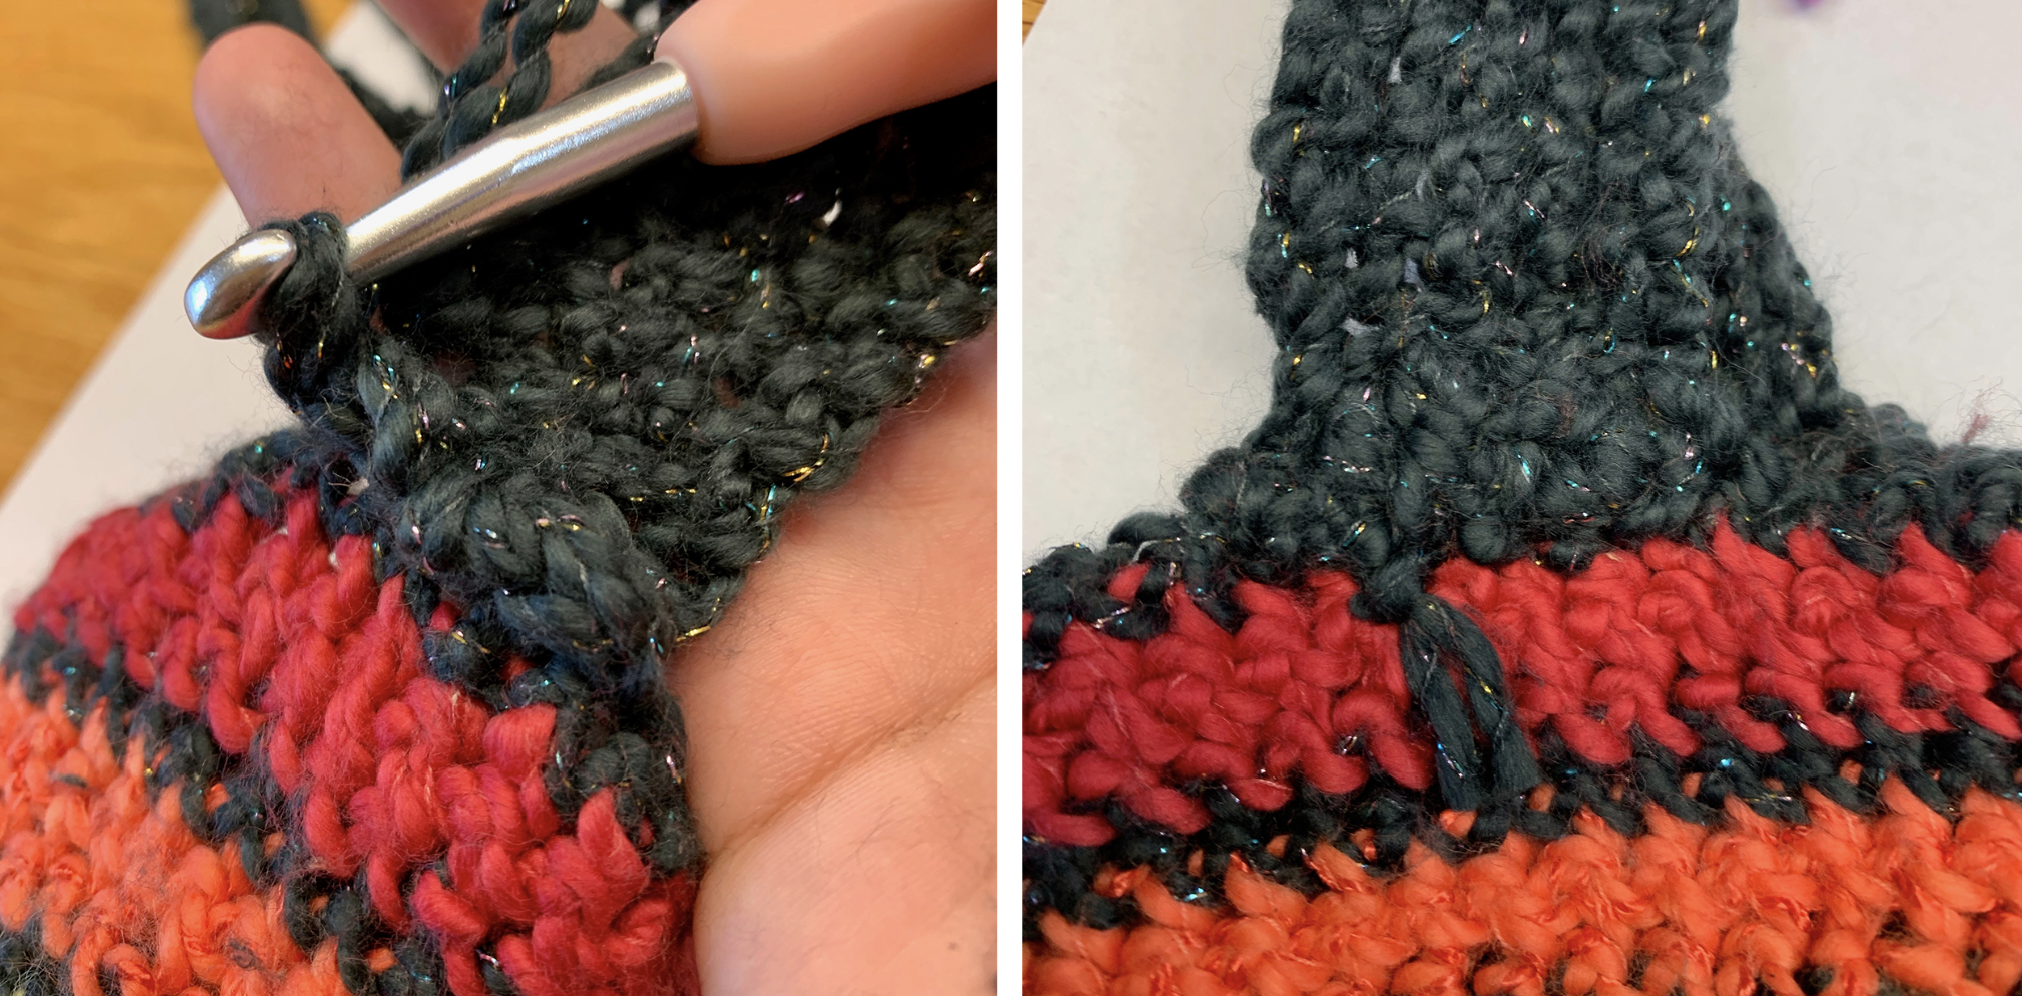
Combining the Pieces
Time to put it all together!
For this last step, the pouch is flipped inside out. The end of the strap and the edge of the bag are placed face to face and joined with single crochet stitches. This method is also used in joining granny squares! Afterward, just to be safe, black yarn is used to sew a few stitches to really hold these two together.
The Final Product!
We love how it turned out! 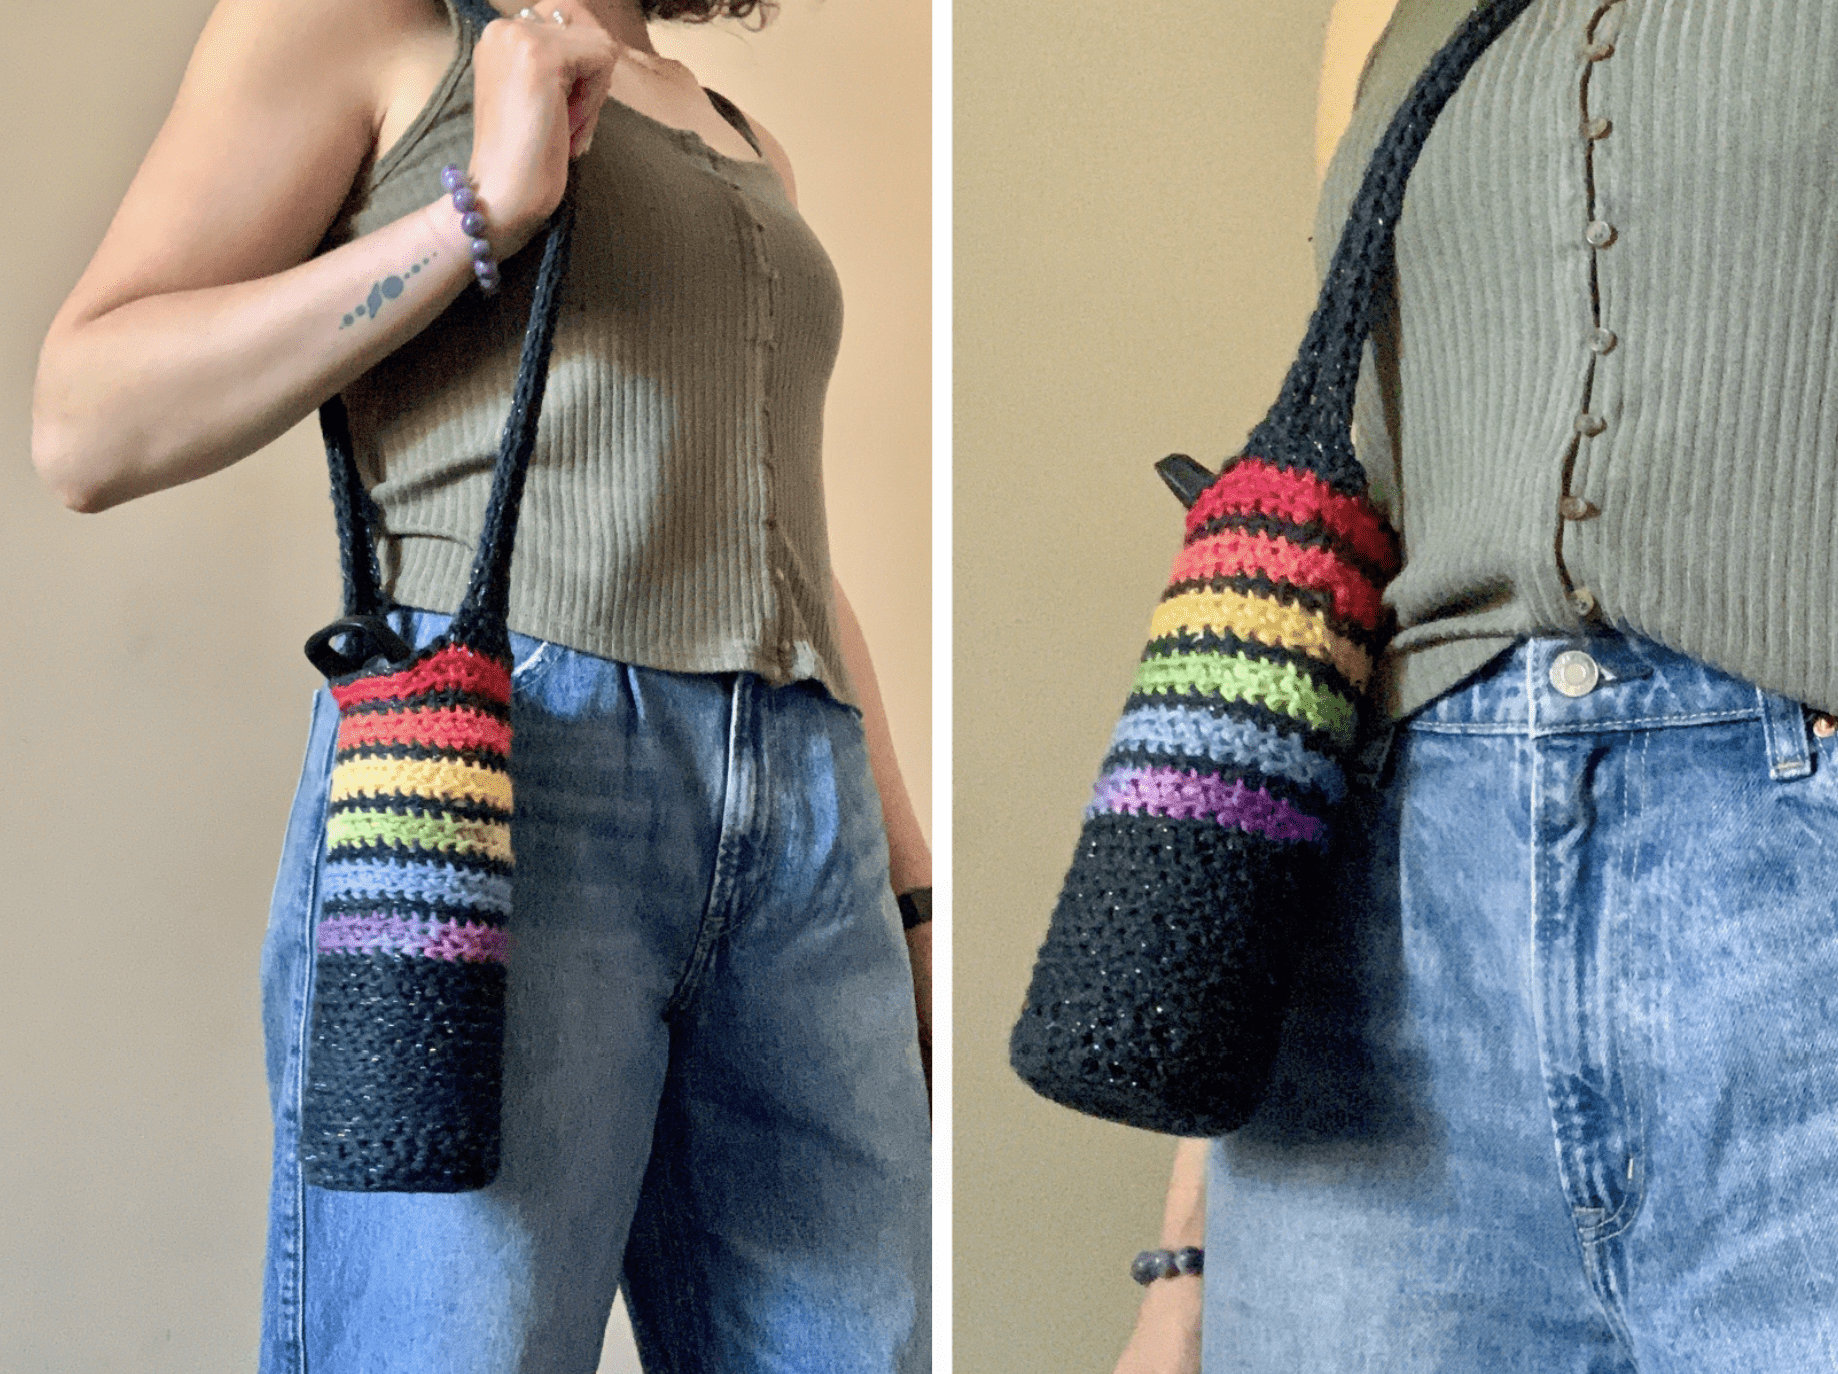
If you’re inspired to create one, don’t forget to send us pictures!